 (Image via
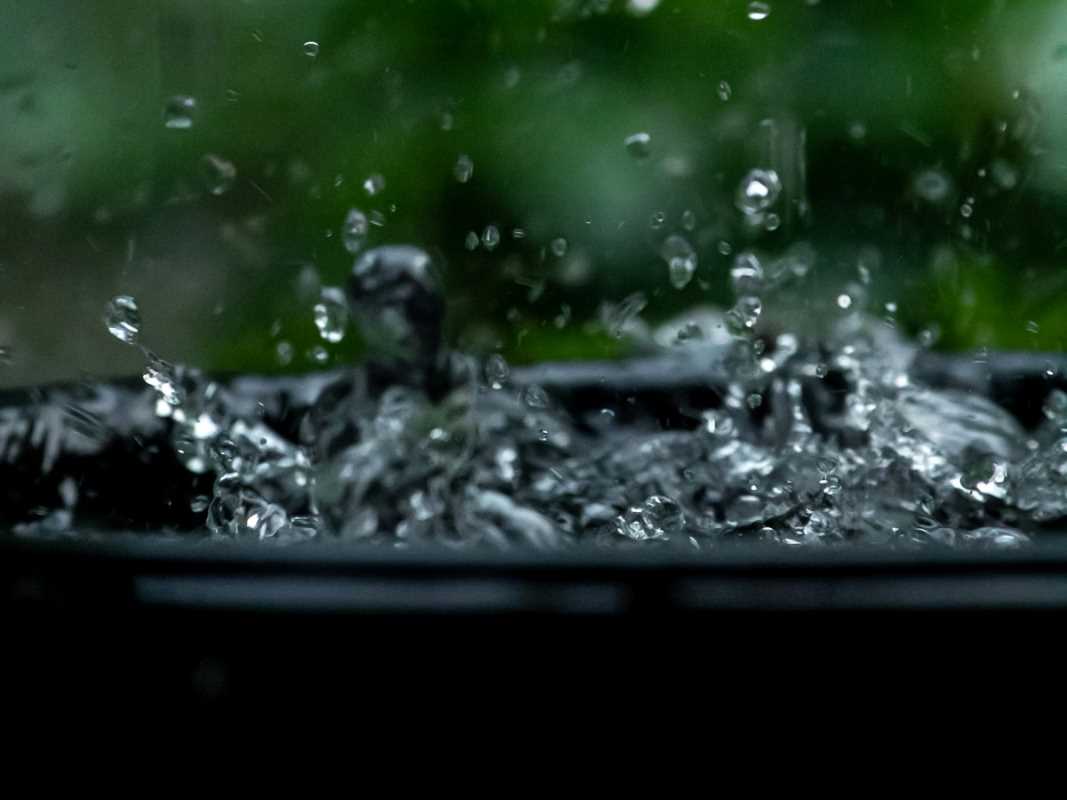
Harnessing natural resources is a powerful way to live more sustainably, and collecting rainwater is one of the easiest and most rewarding places to start. For busy professionals looking to reduce their environmental footprint and lower their utility bills, setting up a simple rainwater barrel system is a fantastic weekend project. This isn't about going completely off-grid; it’s about making a smart, simple change that provides a free, high-quality water source for your garden, lawn, and other outdoor tasks.
Setting up a rainwater harvesting system might sound complex, but modern rain barrels are designed for straightforward, hassle-free installation. You don’t need specialized plumbing skills or a significant amount of time to get started. This guide will walk you through everything you need to know to collect rainwater safely and effectively, from choosing the right barrel to ensuring your collected water is clean and ready for use, helping you make a positive impact with minimal effort.
The Benefits of Harvesting Rainwater
Why go to the trouble of collecting rain when you can just turn on a hose? The advantages are numerous and appeal to both the eco-conscious and the financially savvy professional.
- Significant Water Savings: Outdoor watering can account for a substantial portion of a household's water usage, especially during the summer months. Using rainwater for your garden, lawn, and potted plants can dramatically reduce your reliance on treated municipal water, which is reflected in a lower water bill.
- A Healthier Garden: Rainwater is naturally soft, meaning it’s free from the chlorine, salts, and other minerals found in treated tap water. These chemicals can be harsh on plants and can build up in the soil over time. Plants thrive on rainwater, which is naturally slightly acidic and helps release essential micronutrients from the soil.
- Reduced Stormwater Runoff: When it rains heavily, large volumes of water run off hard surfaces like roofs and driveways, overwhelming storm drains and carrying pollutants into local rivers and lakes. A rain barrel captures a portion of this runoff, reducing erosion and water pollution in your community.
- Emergency Water Supply: While the water collected is non-potable (not for drinking), it can be an invaluable resource for flushing toilets or for cleaning during a municipal water service interruption.
Step 1: Choosing the Right Rain Barrel
Your rain barrel is the heart of your system. When choosing one, you should consider its material, size, and, most importantly, its safety features.
Material and Size:
- Material: Most modern rain barrels are made from durable, UV-resistant plastic (often recycled or food-grade). This material is lightweight, long-lasting, and won't rust or rot. You can also find more decorative options made from wood or clay, though these may require more maintenance.
- Size: Barrels typically range from 40 to 100 gallons. A standard 55-gallon barrel is a great starting point for most homes. To estimate how much water you can collect, consider this: for every inch of rain that falls on 1,000 square feet of roof area, you can collect approximately 600 gallons of water. A single downpour can easily fill a barrel.
Essential Safety and Functional Features:
- Secure Lid and Screen: This is the most critical safety feature. The barrel must have a tight-fitting lid to prevent children or animals from accidentally falling in. The water inlet opening should be covered with a fine mesh screen. This screen is crucial for filtering out leaves, twigs, and other debris, and it also prevents mosquitoes from laying eggs in the standing water.
- Spigot: Look for a barrel with a brass or high-quality plastic spigot located near the bottom. This allows you to easily attach a hose or fill a watering can. A brass spigot is generally more durable than a plastic one.
- Overflow Spout: A good rain barrel will have an overflow spout or port near the top. During heavy rain, the barrel will fill up quickly. The overflow allows excess water to be safely directed away from your home's foundation, either through a hose or by reconnecting to the original downspout.
Step 2: Setting Up Your Rain Barrel System
Installation is surprisingly simple and can usually be completed in an hour or two with basic tools.
What You'll Need:
- Rain barrel
- Cinder blocks or a dedicated rain barrel stand
- Hacksaw or jigsaw
- Drill (if your downspout diverter kit requires it)
- Tape measure
- Level
1. Select a Location
Choose a downspout that is convenient for your watering needs, such as one near your garden or flower beds. The ground beneath the downspout should be level and firm.
2. Create a Stable, Elevated Base
A full 55-gallon rain barrel can weigh over 450 pounds, so a stable base is essential. More importantly, elevating the barrel increases the water pressure from the spigot, making it much easier to use a hose.
- Use cinder blocks or a pre-made rain barrel stand to create a level platform.
- Aim to raise the barrel at least 12-16 inches off the ground. Use a level to ensure your platform is perfectly flat. This elevation provides enough gravitational force to create useful pressure for a hose.
3. Modify Your Downspout
This is the most "technical" part of the job, but it’s quite manageable. You need to redirect water from your downspout into the barrel.
- Using a Diverter Kit: The easiest and most recommended method is to use a downspout diverter kit. These kits attach to your downspout and have a hose that channels water to the barrel. Once the barrel is full, the diverter automatically sends the excess water back down the original downspout. Follow the specific instructions of your kit, which usually involves drilling a hole in your downspout and attaching the diverter.
- The Manual Cut Method: If you're not using a diverter, you'll need to cut a section out of your downspout.
- Place the rain barrel on its stand next to the downspout. The top of the barrel should be a few inches below the horizontal section of the downspout (the elbow).
- Mark the downspout about 2-3 inches above the top of the barrel.
- Carefully use a hacksaw to cut the downspout at your mark.
- Attach a flexible downspout extender or another elbow to the cut end, directing it over the screen opening of your rain barrel.
4. Connect the Overflow Hose
Attach a hose to the overflow spout on your rain barrel. Make sure to direct this hose away from your home's foundation to prevent water damage. A good rule of thumb is to have it discharge at least 5-10 feet away from the house.
Step 3: Safe Use and Maintenance
Once your system is set up, a little bit of routine maintenance will keep it functioning safely and efficiently for years. This is a key step that busy professionals can easily incorporate into their seasonal home care tasks.
Ensure Water Quality (for Your Plants):
- First Flush: The first rainfall after a long dry spell can wash accumulated dirt, bird droppings, and pollen off your roof. Some people choose to disconnect their barrel for the first 15-20 minutes of a heavy rain to allow this "first flush" to wash through the gutter system. A first-flush diverter is a device that can do this automatically.
- Regular Cleaning: Once a year, empty and rinse your barrel to remove any sediment that has collected at the bottom. A simple scrub with a brush and a vinegar-water solution is all you need.
Mosquito Prevention is Non-Negotiable:
- Maintain the Screen: The mesh screen is your primary defense against mosquitoes. Regularly check it to ensure it is intact and clear of debris.
- Use Mosquito Dunks: For added peace of mind, you can add a "mosquito dunk" to your barrel. These small, donut-shaped tablets contain a natural bacteria (BTI) that is toxic only to mosquito larvae. They are completely safe for plants, pets, and wildlife. One dunk will treat a barrel for about 30 days.
Winterizing Your System:
If you live in a climate with freezing temperatures, you must winterize your barrel to prevent it from cracking.
- Before the first hard freeze, completely drain the barrel.
- Disconnect it from the downspout and reattach the original downspout section.
- Turn the barrel upside down to store it, or move it into a garage or shed for the winter.
Collecting rainwater is a simple, practical step towards a more sustainable lifestyle. For a corporate professional, it offers a satisfying, hands-on project that delivers tangible benefits—a healthier garden, a lower water bill, and the knowledge that you are making a positive contribution to your local environment.